 Introduction:
How to install air conditioner?
Installing an air conditioner can be a rewarding and cost-effective way to beat the summer heat and enhance indoor comfort. Whether you are looking to install a window unit or a central air conditioning system, it is important to follow the correct installation process to ensure optimal performance and efficiency. In this comprehensive guide, we will provide a step-by-step overview of how to install an air conditioner, covering the necessary preparations, tools, and procedures. By following these simple instructions, you can enjoy a cool and comfortable living environment.
 Pre-Installation Preparations
Measure the Space:
Measure the dimensions of the room or area where the air conditioner will be installed.
This will help you determine the appropriate size and capacity needed for the unit.
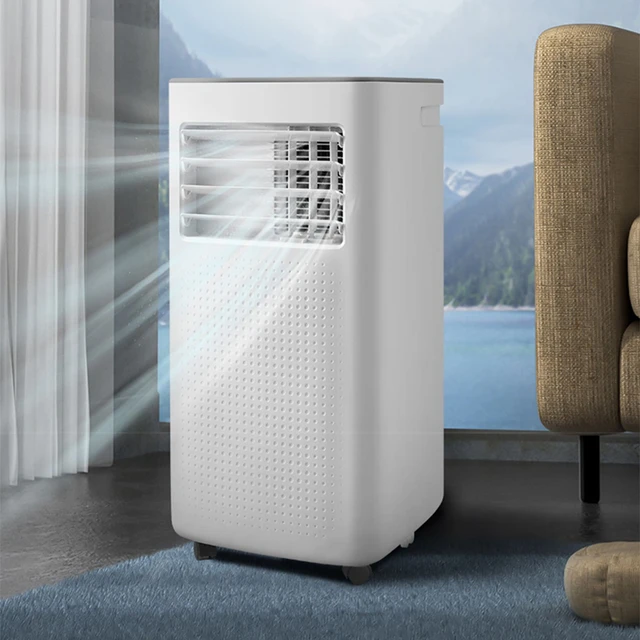
Select the Air Conditioner Type:
Choose the type of air conditioner that best suits your needs, such as a window unit, split system, or central air conditioning system.
Consider factors such as the size of the space, energy efficiency, and your budget.
Gather the Necessary Tools and Materials:
Ensure that you have all the tools required for the installation, such as a measuring tape, level, screwdriver, drill, electrical tester, and safety equipment.
Review the air conditioner manufacturer’s instructions for any specific tools or materials required.
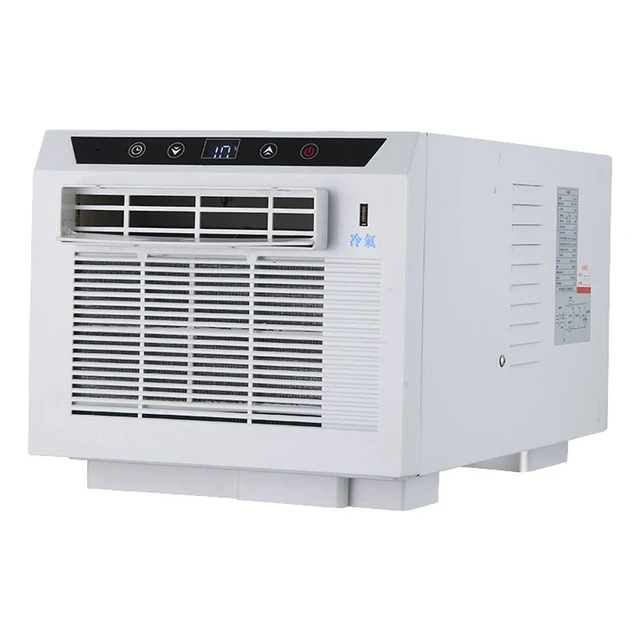
Window Air Conditioner Installation
Prepare the Window:
Clean the area around the window and remove any obstructions.
Measure the window opening and ensure it is large enough to accommodate the Window Air Conditioner.
Install the Mounting Brackets:
Attach the mounting brackets or supports to the window sill or frame, following the manufacturer’s instructions.
Make sure they are secure and level to properly support the air conditioner.
Insert and Secure the Air Conditioner:
Place the air conditioner into the window opening, following the manufacturer’s instructions for proper alignment.
Secure the unit in place by attaching it to the mounting brackets or using the provided window sealing kit.
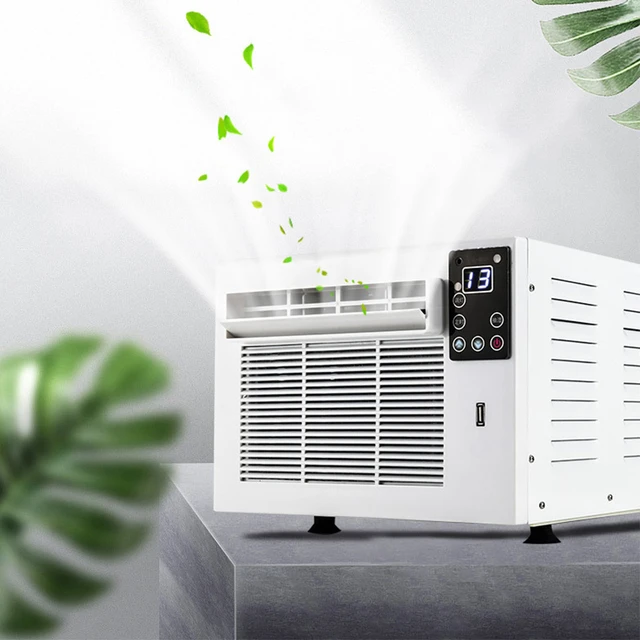
Weatherstrip and Insulate:
Apply weatherstripping around the edges of the window to create a tight seal and prevent air leakage.
Insulate any gaps or spaces between the air conditioner and the window frame to improve energy efficiency.
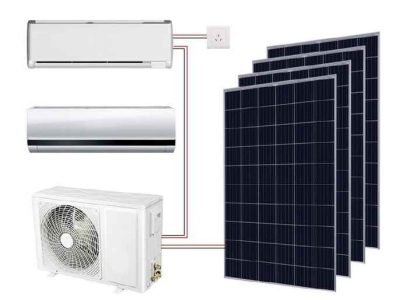
 Split System or Central Air Conditioning Installation
Split System or Central Air Conditioning Installation:
Determine the Location:
Choose the best location for the indoor and outdoor units.
Consider factors such as accessibility, structural support, clearance, and proximity to electrical supply.
Install the Indoor Unit:
Mount the indoor unit on the wall, following the manufacturer’s instructions.
Ensure the unit is securely fastened and level.
Install the Outdoor Unit:
Position the outdoor unit in a level and stable location, following local regulations and guidelines.
Connect the refrigerant and electrical lines to the outdoor unit, ensuring proper insulation and protection.
Connect the Refrigerant Lines:
Connect the refrigerant lines between the indoor and outdoor units, following the manufacturer’s instructions.
Use appropriate fittings, insulation, and sealant to prevent leaks.
Electrical Connections:
Consult a licensed electrician to make the necessary electrical connections.
Ensure that the electrical supply matches the system requirements and that all connections are secure and properly insulated.
 Final Steps and Testing
Secure and Seal:
Secure all panels, covers, and access points according to the manufacturer’s instructions.
Seal any gaps or openings to prevent air leakage and improve energy efficiency.
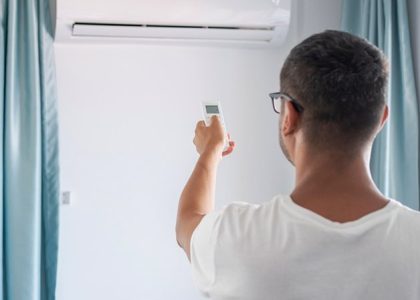
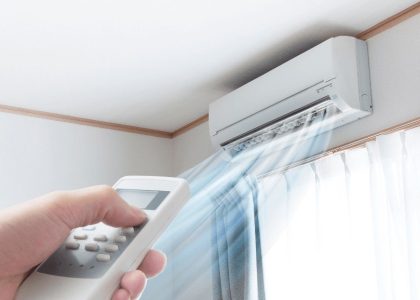
Power On and Test:
Turn on the air conditioner and test the functions, such as cooling, fan speed, and temperature control.
Check for any unusual noises, vibrations, or malfunctions.
Adjust and Maintain:
Adjust the settings and temperature to meet your comfort needs.
Regularly clean or replace air filters, and schedule professional maintenance as recommended by the manufacturer.
Some maintenance and repair tips for air conditioners:
Proper maintenance and regular repairs are essential for keeping an air conditioner in good working condition and ensuring optimal performance. Here are some maintenance and repair tips for air conditioners:
Clean or Replace Air Filters:
Dirty or clogged air filters can restrict airflow and reduce the efficiency of the air conditioner. Clean or replace the filters regularly, following the manufacturer’s instructions. This improves airflow, enhances cooling efficiency, and promotes better indoor air quality.
Check and Clean Condenser Coils:
Over time, the condenser coils can accumulate dirt, dust, and debris, hindering the heat transfer process. Inspect the condenser coils regularly and clean them as necessary using a soft brush or coil cleaner. This helps maintain efficient cooling and prevents overheating of the system.
Inspect and Clean Evaporator Coils:
Similarly, the evaporator coils can also accumulate dirt and debris, affecting cooling efficiency. Check and clean the evaporator coils when necessary. It may require removing access panels or scheduling professional maintenance to ensure proper cleaning.
Clear Drainage System:
Air conditioners have a drainage system to remove condensation. The drain lines and pans can become clogged with debris or algae, leading to water leakage or inefficient drainage. Regularly check and clear the drainage system to prevent blockages and ensure proper functioning.
Check and Straighten Fins:
The aluminum fins on the condenser and evaporator coils can get bent or obstructed, limiting airflow. Inspect the fins and carefully straighten them using a fin comb or a gentle hand. This improves airflow and enhances cooling efficiency.
Verify Refrigerant Levels:
Low refrigerant levels can indicate a leak in the system, affecting cooling performance. It is essential to verify refrigerant levels regularly and address any leaks promptly. Only qualified professionals should handle refrigerant-related issues.
Keep Surrounding Area Clean:
Ensure the area around the outdoor unit is kept clean and free from debris, vegetation, or obstructions. Clear away leaves, weeds, or any other objects that may interfere with airflow or damage the unit.
Schedule Professional Maintenance:
Consider scheduling professional maintenance at least once a year. Professional technicians can inspect and service the air conditioner thoroughly, identifying and addressing any potential issues, and ensuring optimal performance.
Follow Manufacturer’s Guidelines:
Always refer to the manufacturer’s recommendations and guidelines for the specific maintenance and repair requirements of the air conditioner. These guidelines provide valuable information regarding cleaning intervals, filter replacement, and system inspections.
Regular maintenance and needed repairs help prolong the lifespan of the air conditioner, improve energy efficiency, and prevent costly breakdowns. When in doubt or if encountering complex issues, it is advisable to seek assistance from qualified HVAC professionals.
 Conclusion:
How to install air conditioner?
Installing an air conditioner can be a manageable DIY project when following a step-by-step guide. By properly preparing, selecting the appropriate type, and having the necessary tools, you can successfully install an air conditioner and enjoy a comfortable and cool indoor environment. Whether it is a window unit or a more complex central air conditioning system, following manufacturer’s instructions and safety guidelines is essential. By taking proper precautions, performing the installation accurately, and maintaining the system regularly, you can optimize the performance, efficiency, and longevity of your air conditioner for years to come.