When summer heat becomes unbearable, a window air conditioner can be your best ally. Installing a window air conditioner can seem daunting, but with the right guidance, it’s a task that most homeowners can handle. This detailed guide will walk you through each step of the process, ensuring a smooth and efficient installation.
 Understanding the Basics
Before jumping into the installation process, it’s essential to understand the basics of window air conditioners:
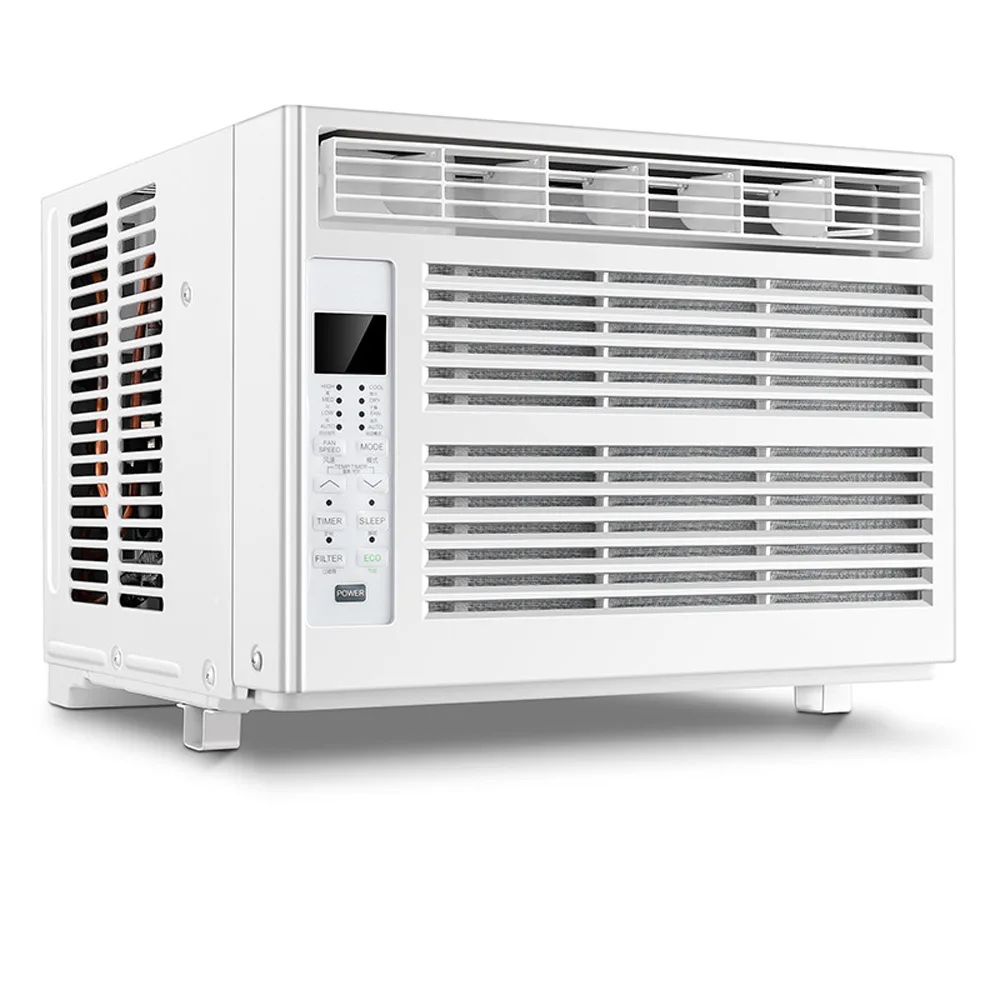
How Window Air Conditioners Work
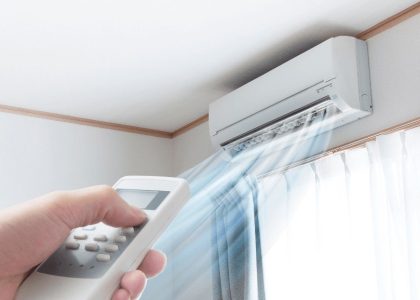
Cooling Mechanism: Window air conditioners work by drawing warm air from the room, cooling it through a refrigeration cycle, and then blowing the cooled air back into the room. The warm air is expelled outside, ensuring efficient cooling.
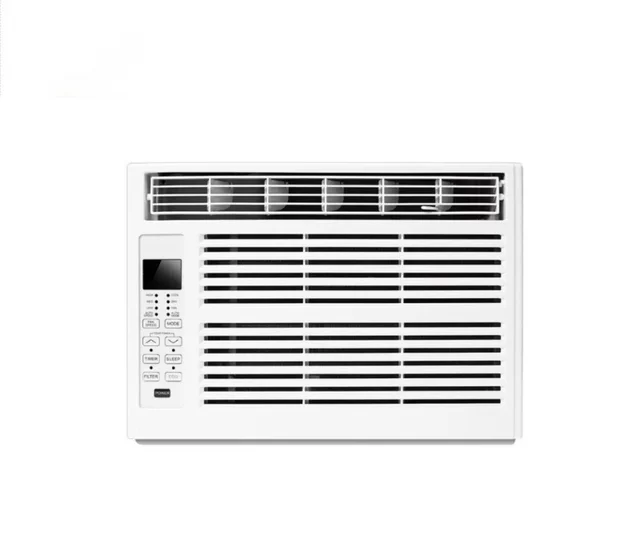
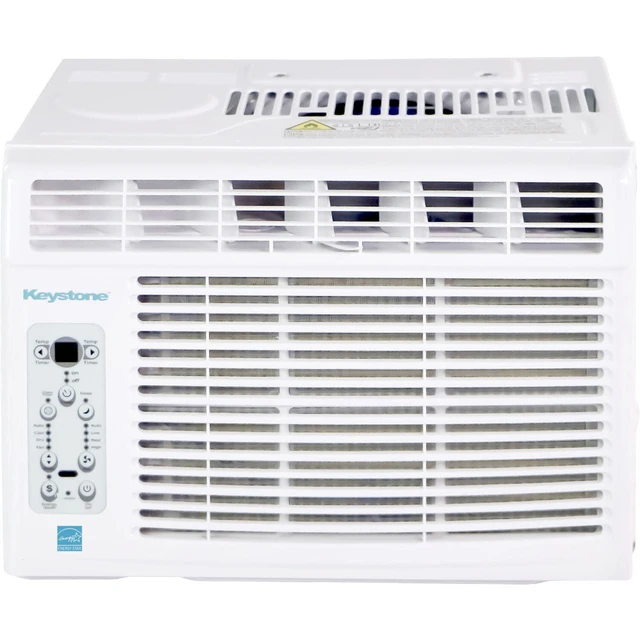
Installation Location: These units are designed to fit into a window frame, making them ideal for apartments, small homes, or rooms without central air conditioning.
Choosing the Right Unit
Selecting the right window air conditioner is crucial for effective cooling. Here’s what you need to consider:
Size and BTU Rating
Room Size: Match the unit’s BTU (British Thermal Unit) rating to the size of the room. A higher BTU rating means more cooling power. Here’s a rough guide:
- 150-350 sq. ft.: 5,000-8,000 BTUs
- 350-550 sq. ft.: 8,000-12,000 BTUs
- 550-1,000 sq. ft.: 12,000-18,500 BTUs
- 1,000-1,500 sq. ft.: 18,500-25,000 BTUs
 Energy Efficiency
Energy Star Rating: Look for units with an Energy Star rating to ensure energy efficiency, which can save you money on bills in the long run.
EER (Energy Efficiency Ratio): A higher EER indicates better energy efficiency. Aim for a unit with an EER of 10 or higher.
Tools and Materials Needed
Before you start the installation, gather the necessary tools and materials:
- Window air conditioner unit
- Measuring tape
- Screwdriver (Phillips and flathead)
- Level
- Weather stripping or foam tape
- Support brackets (if required)
- Power drill
- Screws and brackets (provided with the unit)
- Foam insulation strips
- Sealant
Step-by-Step Installation Guide
Follow these steps to install your window air conditioner effectively:
Step 1: Unbox and Inspect the Unit
Unpack Carefully: Unbox the air conditioner and inspect it for any damage. Ensure you have all the components and hardware required for installation.
Read the Manual: Go through the manufacturer’s manual for specific instructions related to your unit.
Step 2: Measure the Window
Window Size: Measure the width and height of the window to ensure the unit fits properly. Most window air conditioners are designed to fit standard window sizes, but it’s always good to be sure.
Clear the Area: Remove any obstacles or items near the window that could interfere with the installation.
Step 3: Prepare the Window
Open the Window: Raise the lower sash of the window.
Clean the Sill: Clean the window sill and frame to ensure a secure fit for the air conditioner.
Step 4: Install Weather Stripping
Apply Insulation: Apply weather stripping or foam tape to the bottom of the window frame and the side panels of the air conditioner. This will help seal gaps and improve energy efficiency.
Check Alignment: Ensure the weather stripping is aligned correctly with no gaps.
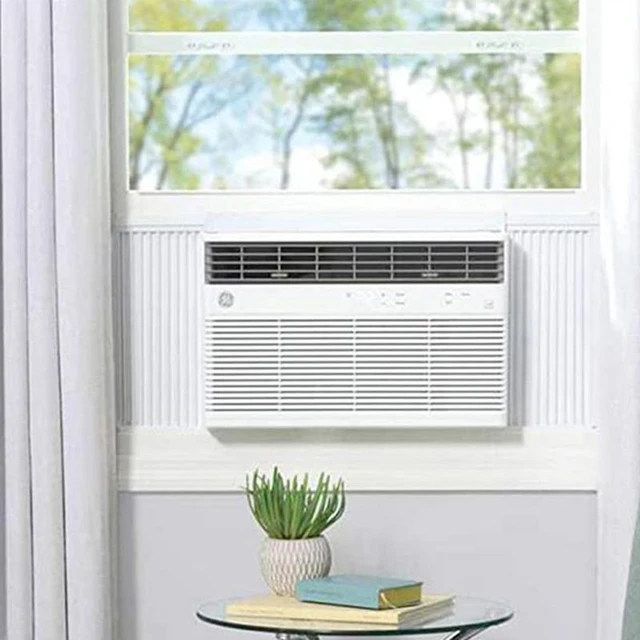
 Step 5: Position the Air Conditioner
Lift the Unit: Carefully lift the air conditioner and place it on the window sill. Most units have flanges or brackets that help secure it in place.
Align the Unit: Center the air conditioner in the window, ensuring the bottom flange sits securely on the window sill.
Slide Down the Window: Slowly lower the window sash until it rests on top of the air conditioner unit. This helps secure the unit in place.
Step 6: Secure the Unit
Side Panels: Extend the side panels of the air conditioner to fill the gaps on either side of the unit. Attach these panels to the window frame using screws or brackets provided.
Support Brackets: If your unit requires additional support, install the brackets underneath the unit according to the manufacturer’s instructions. Secure them to the exterior of the house, ensuring the weight is evenly distributed.
Check Stability: Ensure the unit is stable and level. Use a level tool to confirm that the air conditioner is not tilted excessively.
Step 7: Seal the Gaps
Foam Insulation: Use foam insulation strips to seal any remaining gaps around the sides and top of the air conditioner. This prevents air leaks and keeps the room efficiently cooled.
Sealant: For a more permanent seal, use weatherproof sealant around the edges of the unit.
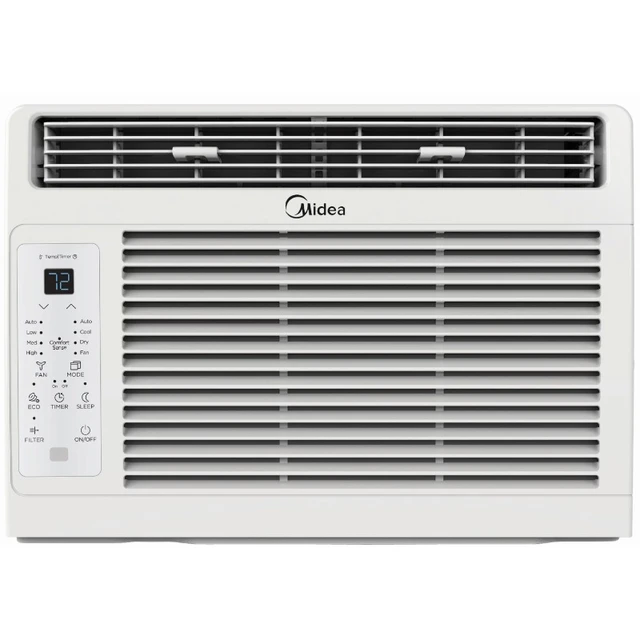
Step 8: Power Up the Unit
Plug In: Plug the air conditioner into a nearby electrical outlet. Avoid using extension cords, as they may not handle the power load efficiently.
Test the Unit: Turn on the air conditioner and test all settings to ensure it’s working correctly. Check for any unusual noises or vibrations.
Safety Considerations
Installing a window air conditioner involves some safety risks. Keep these safety tips in mind:
Lifting and Handling
Teamwork: If the unit is heavy, seek assistance to lift and position it safely. Dropping the unit can cause damage and potential injury.
Proper Grip: Use a proper grip and lifting technique to avoid straining your back.
Electrical Safety
Dedicated Circuit: Ideally, the air conditioner should be connected to a dedicated electrical circuit to prevent overloading.
No Extension Cords: Avoid using extension cords, which can cause overheating and fire hazards.
Secure Installation
Prevent Tilting: Ensure the air conditioner is secure and doesn’t tilt excessively, which can cause water to drain improperly.
Maintenance Tips
Once your air conditioner is installed, regular maintenance will ensure it remains efficient and effective:
Clean the Filter
Monthly Cleaning: Check and clean the air filter at least once a month. A dirty filter can reduce efficiency and air quality.
Replacement: Replace the filter if it’s damaged or excessively dirty.
 Inspect and Clean Coils
Evaporator and Condenser Coils: Inspect and clean the evaporator and condenser coils periodically to ensure efficient cooling.
Debris Removal: Remove any debris or dust buildup using a soft brush.
Check for Leaks
Sealing Inspection: Regularly inspect the weather stripping and sealant to ensure there are no air leaks.
Reapply if Needed: Reapply foam insulation or sealant to maintain a proper seal.
Drainage Maintenance
Drain Holes: Ensure the air conditioner’s drain holes are clear of obstructions to allow proper water drainage.
Water Collection Pan: Check the water collection pan and empty it regularly to prevent overflow.
Troubleshooting Common Issues
If your window air conditioner isn’t working correctly, here are some common issues and solutions:
Not Cooling Properly
Filter Check: Ensure the air filter is clean and unobstructed.
Mode Settings: Check the thermostat and cooling settings to ensure they are set correctly.
Coil Cleaning: Clean the evaporator and condenser coils.
Excessive Noise
Secure Installation: Check that the unit is securely positioned and not vibrating against the window frame.
Loose Parts: Inspect for any loose parts or debris within the unit.
Water Leaks
Tilt Adjustment: Ensure the unit is slightly tilted outward to allow proper drainage.
Drain Holes: Clear any blocked drain holes.
 Conclusion
Installing a window air conditioner can greatly enhance your home’s comfort during hot summer months. By following this comprehensive step-by-step guide, you can install the unit yourself efficiently and safely.
Remember to choose the right unit for your room size, prepare the window properly, and secure the air conditioner to prevent any accidents or inefficiencies. Regular maintenance, including cleaning filters and inspecting for leaks, will keep your air conditioner running smoothly for years.
With the detailed instructions and tips provided, you can enjoy the benefits of a cool and comfortable home without the need for professional installation. Happy cooling!