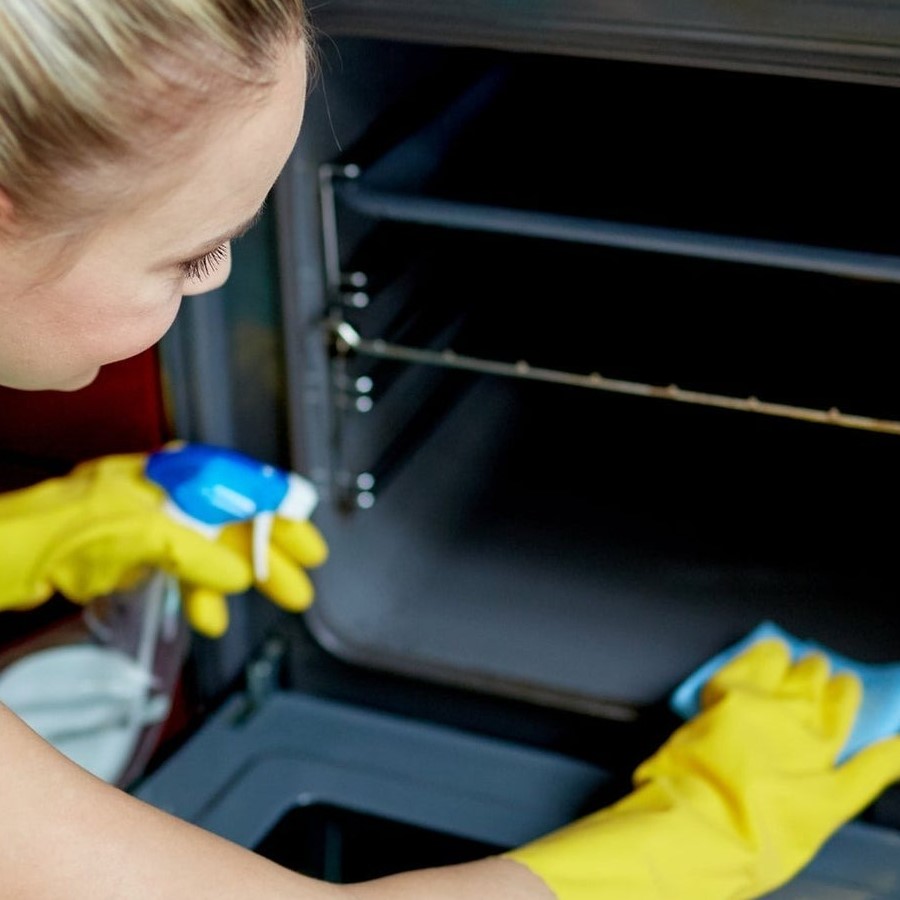
Introduction to Oven Cleaning
Taking on the task of cleaning ovens can seem daunting. Yet, it’s essential for tasty cooking and a hygienic kitchen. Dirty ovens can affect food flavor and pose safety risks. Regular cleaning ensures efficiency and extends your appliance’s life. Let’s make the oven shine with some simple steps and tips.
Many avoid cleaning ovens due to the anticipated effort. But, with the right materials and a step-by-step guide, it’s easier. We’ll share a method using everyday items and DIY mixtures. No need for harsh chemicals. You’ll see how basic substances like baking soda and vinegar can work wonders.
Understanding why oven cleaning is vital is the first step. It removes food spills and grease, which can cause smoke and odors. A clean oven also prevents dangerous build-ups and maintains optimal performance. So, gather your cleaning gloves and let’s begin this journey to a sparkling oven.
Essential Cleaning Materials and DIY Mixtures
Before diving into the oven cleaning steps, it’s crucial to gather all necessary materials. Opting for homemade mixtures not only ensures safety but also simplicity and effectiveness.
Here’s a list of items you’ll need for cleaning ovens without the harsh chemicals:
- Baking Soda: A key ingredient, baking soda acts as a mild abrasive to scrub away grime.
- White Vinegar: Works as a natural degreaser and odor eliminator. It also helps to soften baked-on spills.
- Water: Needed to create pastes and solutions or to rinse off cleaning agents.
- Rubber Gloves: To protect your hands from dirt and natural acids in vinegar.
- Soft Brushes or Sponges: Ideal for applying pastes and for gentle scrubbing.
- Spray Bottle: Useful for applying vinegar solutions evenly across surfaces.
- Microfiber Cloth or Non-Abrasive Pad: For final wipes, ensuring a non-scratch clean up.
- Old Newspapers or Towels: Lay these down to catch any drips or debris during cleaning.
By using these simple tools and ingredients, you empower yourself to keep your oven in top-notch condition while being eco-friendly. In the next section, we’ll guide you through each step to transform your oven from grimy to gleaming.
Step-by-Step Guide to Cleaning Your Oven
Clearing your oven of grime and grease doesn’t have to be an ordeal. Follow this straightforward process for cleaning ovens, and revel in the results. Maintain your kitchen’s hygiene and your oven’s efficiency with these simple steps.
Step 1: Preparations and Initial Cleaning
Start by removing oven racks and any other items like thermometers or pizza stones. Lay down newspapers or old towels beneath the oven to catch drips. Mix warm water and baking soda into a paste. Get your rubber gloves, brushes, and microfiber cloths ready.
Step 2: Applying the Cleaning Paste
With your gloves on, spread the baking soda paste inside your oven. Focus on areas with baked-on spills, but avoid heating elements and the oven door. Let the paste do its work; it needs time to break down the grease.
Step 3: Cleaning Oven Racks and Interior
Soak the racks in hot water with a splash of vinegar. This helps to loosen the crud. After soaking, scrub them with a stiff brush and rinse. Meanwhile, for the oven interior, wipe away the paste with a wet cloth.
Step 4: Addressing Stubborn Spots
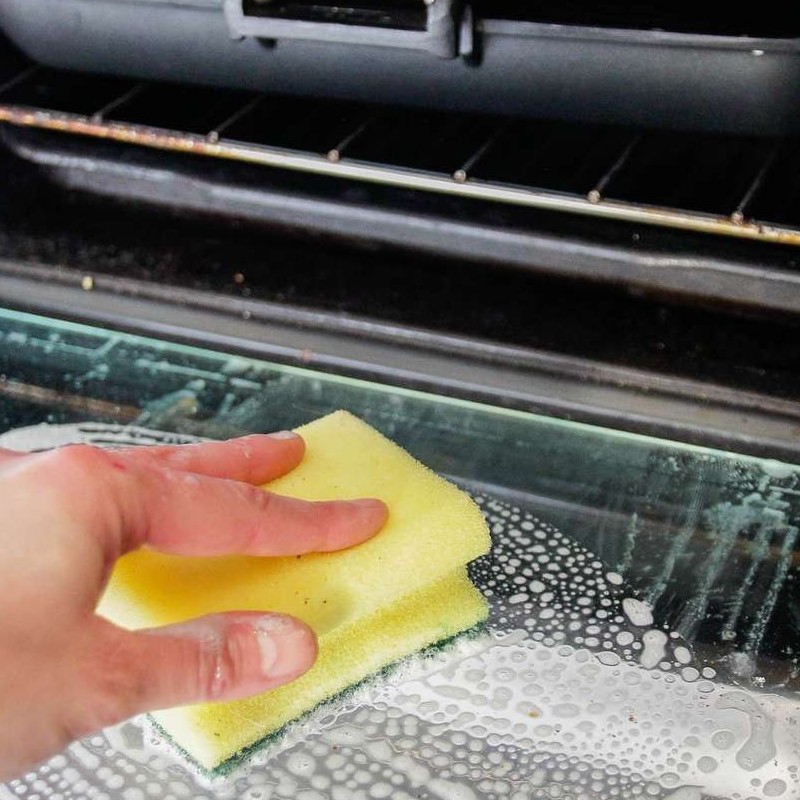
If spots remain, spray them with a vinegar solution from your spray bottle. Scrub gently with a non-abrasive pad or brush. For the glass door, use a gentler approach with your soft sponge and the baking soda paste.
Step 5: Final Touches on Glass and Exterior
Polish the glass door with a cloth and diluted vinegar for shine. Wipe down the oven’s exterior, knobs, and handles with a mix of vinegar and water. Remember to be gentle to avoid scratching the surfaces.
Now stand back, admire your work, and enjoy the pure satisfaction of a squeaky-clean oven ready for your next culinary adventure.
Maintaining a Clean Oven
Keeping your oven clean consistently can simplify your cleaning process. Here are tips to maintain your oven’s cleanliness:
- Wipe After Every Use: Quickly wipe the interior after each use with a damp cloth. It prevents hard-to-clean buildups.
- Use Oven Liners: Place non-stick oven liners at the bottom to catch drips and spills. They are easy to remove and clean.
- Regular Mini-Cleans: Perform light cleanings weekly. Use a simple mixture of water and a drop of dish soap for wiping.
- Handle Spills Immediately: When spills occur, clean them as soon as the oven is cool. This practice avoids burnt-on residue.
- Monthly Inspections: Check your oven monthly for any signs of major spills or residue.
By following these simple maintenance tips, you can keep your oven clean and reduce the need for deep cleaning sessions.
Oven Self-Cleaning: Advantages and Considerations
Cleaning ovens can often seem tough. But, many modern ovens come with a self-cleaning feature. This can make the process quicker and less labor-intensive.
Self-cleaning uses high heat to burn off spills and stains. This turns them to ash, which you can easily wipe away. It’s a hands-off approach to cleaning ovens. High heat means no scrubbing is needed. However, there are things to consider before using this function.
Here are some benefits and points to think about:
- Efficiency: Self-cleaning is an efficient way to clean the entire oven interior at once.
- Time-saving: It can save you time as it works without your input. You just remove the ash after.
- No Chemicals: It avoids harsh cleaning chemicals. This is safer for your home and environment.
Yet, despite these advantages, there are drawbacks:
- Energy Use: It uses a lot of energy to reach high temperatures.
- Heat: Your kitchen may get very warm during the cycle. This isn’t ideal on hot days.
- Odors: Burning off food residues often creates strong odors. Ventilation is important.
- Potential for Damage: Older ovens might not handle the intense heat well.
Before using the self-cleaning feature, check your oven’s manual. Follow all safety instructions. Remove any major spills before setting it to self-clean. Ensure the room is well-ventilated. If your oven is old, consider if it is wise to use this function.
By weighing these factors, you can decide if self-cleaning is right for your oven. Regular maintenance can often reduce the need for deep cleaning. Simple steps can also keep your oven in good shape without the self-clean cycle.
Frequently Asked Questions About Oven Cleaning
Cleaning ovens can raise many questions. Here, we answer frequently asked questions to ease your cleaning journey.
How often should I clean my oven?
Consider your usage. Clean every three months if often used, or every six months to a year if less used. Spot clean when necessary.
What is the best way to clean my oven?
Use a DIY paste of baking soda and water for the interior. For racks, soak in hot water with vinegar, then scrub.
Is using oven self-cleaning safe?
Yes, if your oven is in good working order. However, it gets very hot and may emit odors. Always ventilate the area well.
Can I clean the oven without harsh chemicals?
Absolutely. Baking soda and vinegar are safe, effective alternatives for cleaning ovens without toxic chemicals.
How do I handle stubborn stains in my oven?
Apply a baking soda paste, let it sit, then scrub. For tougher spots, use a vinegar spray followed by scrubbing.
What should I avoid when cleaning my oven?
Avoid harsh scouring pads, which can scratch surfaces. Also, don’t apply cleaner directly to heating elements.
By keeping these tips in mind, you can maintain a clean and efficient oven with minimal effort. Remember, regular maintenance can simplify your cleaning tasks and enhance your oven’s longevity.