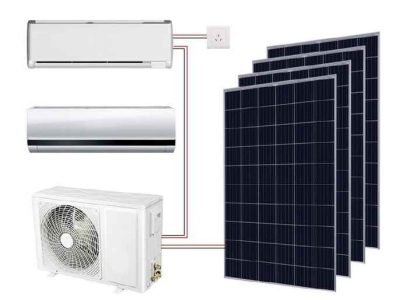
Essential Tools and Equipment for AC Installation
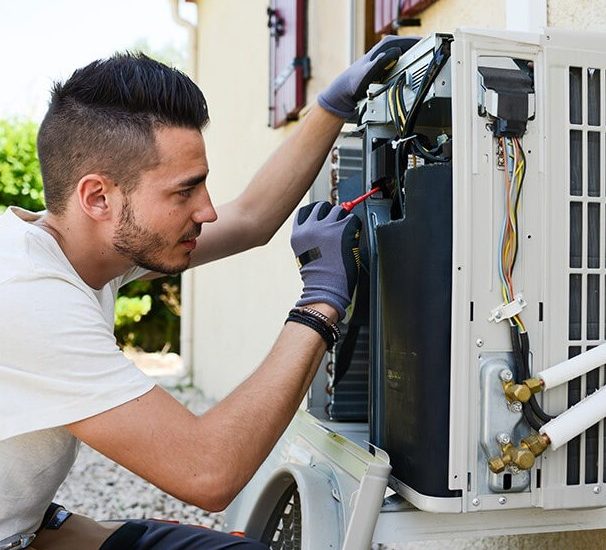
Before diving into air conditioner installation, gathering the right tools and equipment is critical. Start by ensuring you have a reliable HVAC gauge set. This set will help you monitor the system’s pressure accurately. Next, you’ll need a vacuum pump. It’s essential for removing moisture and air from the refrigerant lines. A refrigerant scale is also important for measuring the amount of refrigerant to add.
A proper set of HVAC service wrenches and a cordless drill are must-haves. They make the physical installation tasks easier. Don’t forget a tube cutter for precise cuts on the refrigerant lines. Good quality pipe wrenches and adjustable wrenches are also useful for tightening bolts and nuts.
Safety should always come first in any installation process. So, equip yourself with protective gloves and safety glasses. A multimeter is also necessary for electrical tasks, ensuring all connections are safe and correct.
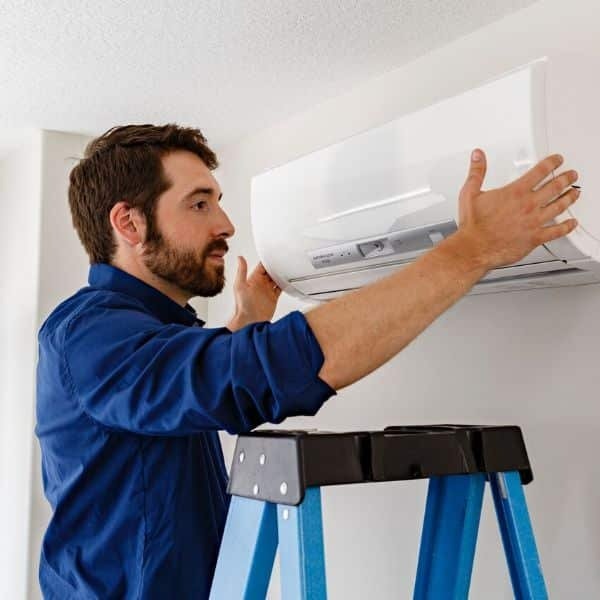
Finally, have a reliable stepladder within reach. It allows for safe access to higher installation points. With these essential tools and equipment, a technician can ensure a smooth, efficient air conditioner installation process.
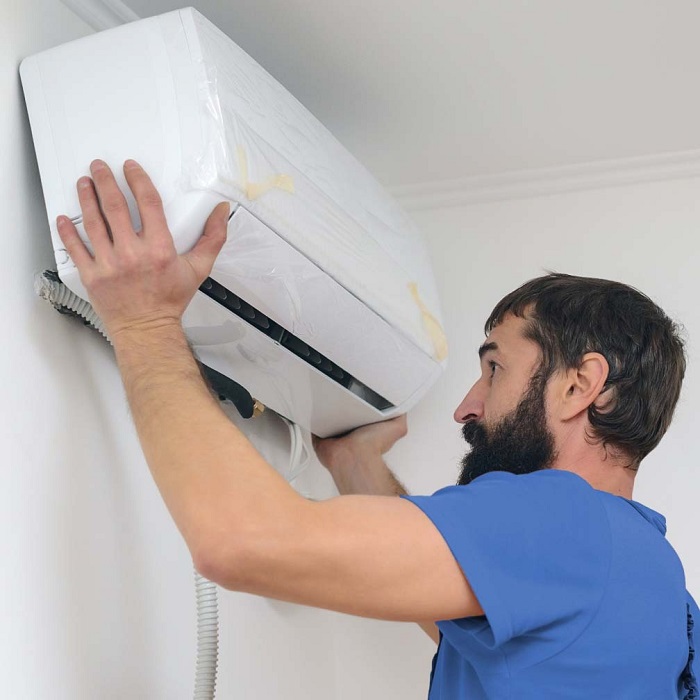
Steps to Ensure Proper AC Unit Placement
Proper placement of the air conditioner unit is crucial for its performance and efficiency. To start, identify the best location. It should be a spot where airflow is not obstructed. Keep the unit away from heat sources like sunlight or appliances. This helps prevent the AC from overworking.
Make sure there is enough clearance around the unit. This allows for adequate air circulation. At least two feet of space on all sides is advisable. Check for firm, level ground. A stable base prevents vibrations and noise. If needed, create a concrete pad to ensure stability.
Factor in the distance to electrical outlets. Ensure power sources are easily accessible. However, keep safety in mind. Avoid placing the unit near water sources to mitigate electrical hazards.
Consider the unit’s proximity to windows and doors. Placing it too close can cause drafts or uneven cooling. Balance the location to provide consistent room temperatures.
Remember to follow local codes and regulations. Each area may have specific requirements for outdoor unit placement. Consult these guidelines before installation to avoid issues.
In conclusion, careful planning of the AC unit placement can lead to better performance. It ensures longevity and energy saving outcomes for your air conditioner installation.
Tips for Electrical Wiring and Safety
When tackling the electrical aspects of air conditioner installation, prioritize safety and efficiency. Follow these tips:
- Turn Off Power: Always switch off the main power supply before beginning any electrical work. This prevents shock and other hazards.
- Use the Right Wire Size: Choose the appropriate wire size for the AC unit. Incorrect sizing can cause overheating and potentially start a fire.
- Check for Proper Grounding: Ensure the AC unit is grounded properly to avoid electrical shocks. This is a crucial safety measure.
- Install a Dedicated Circuit: Air conditioners should have their own circuit to prevent overloading. This dedicated circuit also helps improve efficiency.
- Secure Connections: Confirm that all electrical connections are tight and secure. Loose connections can cause malfunctions.
- Follow Electrical Codes: Adhere to local electrical codes and standards. They help ensure safe and legal air conditioner installation.
- Use a Multimeter: Verify all connections with a multimeter. This tool checks for correct voltage and wiring integrity.
- Hire a Professional: If unsure about electrical work, hire a qualified electrician. Mistakes can be costly and dangerous.
By carefully managing these electrical aspects, you can achieve a safe and efficient air conditioner installation experience. These precautions help protect against accidents and ensure the system’s reliability.
Ductwork Installation Best Practices
Ductwork is vital for an efficient air conditioner installation. It guides cool air throughout the space. Poor duct installation leads to energy loss and system strain. Follow these best practices for ideal results:
- Seal All Joints: Use mastic sealant or metal-backed tape. Ensure no air escapes from the seams.
- Support Ducts Properly: Every few feet, support ducts to prevent sagging. Use straps or brackets for this.
- Insulate Ducts: Wrap ducts in insulation, especially in unconditioned spaces. This keeps the air inside cool.
- Avoid Sharp Bends: Design the duct layout with gradual turns. Sharp bends restrict airflow and reduce efficiency.
- Test for Leaks: Once installed, check ducts for leaks. Use a smoke pencil or similar device to find any leaks.
- Keep Ducts Clean: During installation, protect ducts from dust and debris. This maintains air quality.
- Plan for Maintenance: Ensure ducts are accessible for future cleaning and repairs.
- Follow Codes: Adhere to local building codes. They dictate safe and efficient ductwork installation.
By applying these practices, you ensure a reliable air conditioner installation. A well-installed duct system makes for a more comfortable and energy-efficient environment.
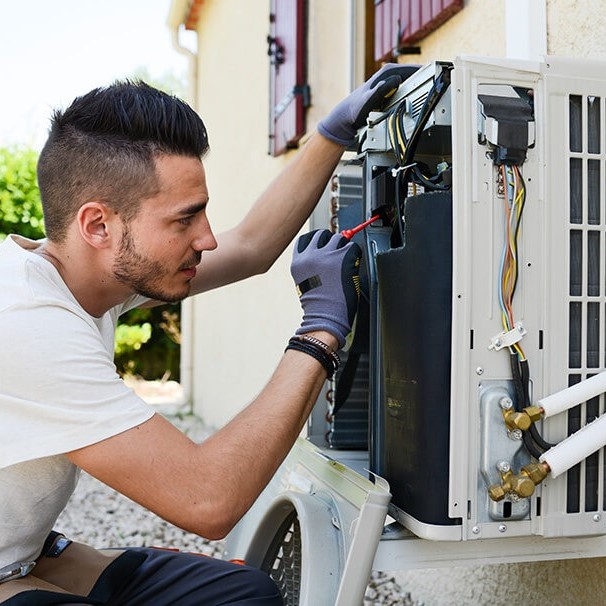
Refrigerant Handling and AC Charging Techniques
Handling refrigerant during air conditioner installation requires care. Here are the best techniques to charge an AC system:
- Verify Refrigerant Type: Always check the refrigerant type your AC unit requires. Using the wrong kind can damage the system.
- Use a Refrigerant Scale: Measure the correct amount of refrigerant with a scale. Accurate amounts ensure optimal performance.
- Connect a Manifold Gauge: Attach the gauge to the service ports to monitor pressure. This helps avoid overcharging the system.
- Vacate the System: Run a vacuum pump to remove moisture and air. This process is crucial before charging.
- Add Refrigerant Slowly: Charge the system slowly to prevent compressor damage. Keep an eye on the gauge readings.
- Check for Leaks: After charging, examine the connections for leaks. Use a leak detector or soap solution for this.
- Follow Manufacturer Instructions: Stick to the guidelines given by the AC maker. This ensures you charge the system correctly.
- Wear Protective Gear: Have gloves and safety glasses on to protect from refrigerant burns.
By following these refrigerant handling and charging steps, you can help the AC run efficiently and safely. This attention to detail will extend the life of the unit and ensure maximum comfort for users.
Airflow Optimization for Maximum Efficiency
Achieving optimal airflow is key in air conditioner installation for maximum efficiency. Here’s how to ensure it:
- Inspect and Clean Filters: Regularly check and clean air filters to prevent clogs. Clean filters maintain strong airflow.
- Strategize Air Vent Placement: Place vents strategically to enhance airflow. Avoid blockage from furniture or curtains.
- Ensure Proper Duct Sealing: Sealed ducts prevent air loss. Use mastic sealant or aluminum tape for airtight seals.
- Balance the System: Adjust dampers to balance the airflow throughout the space. This prevents hot or cold spots.
- Maintain Clear Outdoor Unit Area: Keep plants and debris away from the outdoor unit. It needs clear space to pull in air.
- Use Energy Star-Rated Fans: Install fans with good energy ratings. They improve air movement and efficiency.
- Control Humidity Levels: Reduce humidity to prevent overwork. A dehumidifier can assist in maintaining ideal levels.
- Size AC Unit Correctly: A correctly sized AC unit supports proper airflow. Too large or small impacts efficiency and comfort.
By focusing on these steps, the air conditioner will perform at its best. Good airflow reduces strain on the system. It ensures even cooling and helps lower energy bills. Every effort made in optimizing airflow pays off in enhanced system performance and longevity.
Troubleshooting Common Installation Issues
During air conditioner installation, you might encounter several common issues. Addressing these swiftly ensures the system runs smoothly.
- Check Refrigerant Levels: If the AC underperforms, inspect the refrigerant levels. Low levels might indicate a leak.
- Examine Electrical Connections: Loose or incorrect wiring can cause faults. Tighten connections and double-check wiring diagrams.
- Inspect Ductwork Leaks: Air loss through ducts leads to inefficiency. Look for holes or separations and seal them.
- Listen for Unusual Noises: Strange sounds often signal issues. Investigate the source and make necessary adjustments or repairs to fans or other moving parts.
- Monitor System Pressure: Incorrect system pressure affects performance. Use your HVAC gauge set to verify and adjust.
- Ensure Thermostat Calibration: A poorly calibrated thermostat might give false readings. Recalibrate to keep temperatures consistent.
- Check Airflow Obstructions: Blocked vents or a dirty air filter can reduce airflow. Keep areas clear and filters clean.
- Verify Proper Unit Leveling: An unlevel unit can cause operational problems. Adjust the base to make it level.
By methodically addressing these issues, your air conditioner installation should proceed without significant problems. Each resolved issue contributes to a more efficient and longer-lasting air conditioning system.
Final Inspection and Testing for Reliable Operation
After completing the air conditioner installation process, the final step is inspection and testing. This stage is crucial to ensure reliable operation of the AC unit. Here’s a checklist to follow:
- Test Thermostat Operation: Make sure the thermostat responds correctly. Try changing temperature settings and check the system’s response.
- Check Air Quality: Evaluate the air coming from the vents. It should be cool and clean, without any odd smells.
- Inspect Refrigerant Lines: Look for any signs of leaks or damage. Proper refrigerant lines are vital for efficiency.
- Verify Sound Levels: Listen for abnormal sounds. Noises can hint at issues that may need fixing.
- Examine Electrical Components: Use a multimeter to test voltage and currents. Confirm they match with the manufacturer’s specifications.
- Run a Full Cycle: Let the AC unit operate for a complete cycle. This checks overall performance and correct cycling on and off.
- Evaluate Drainage Systems: Check condensate drains for proper flow. They should be clear of blockages and draining well.
- Check All Fittings and Connections: Make sure they’re tight and secure. Loose parts can cause problems later on.
By performing these inspections and tests, you help prevent future issues. Well-tested AC systems run better and have a longer life span.