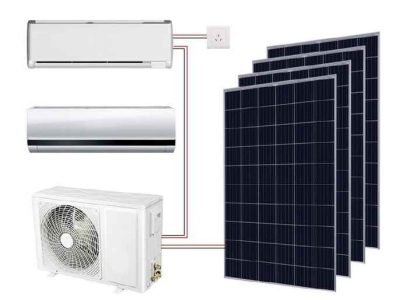
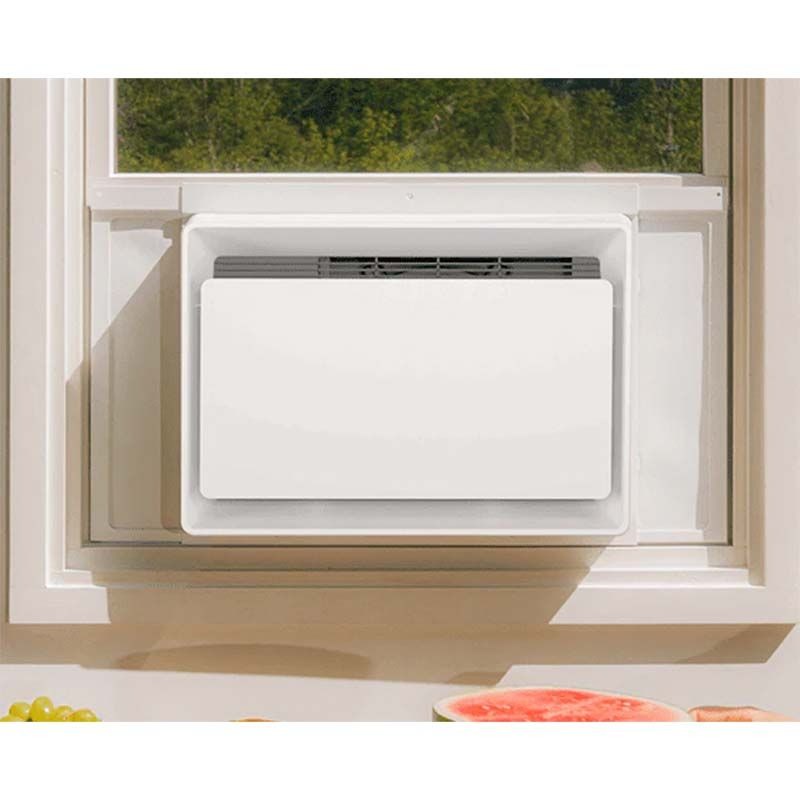
Introduction to Casement Window Air Conditioners
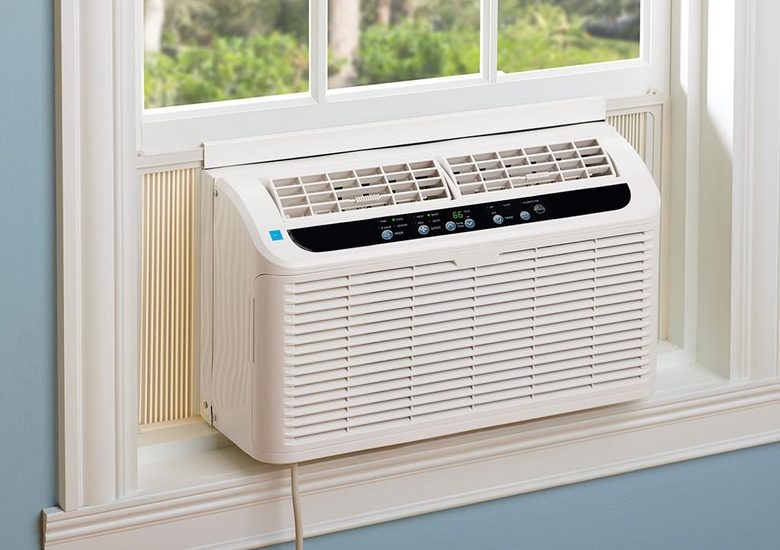
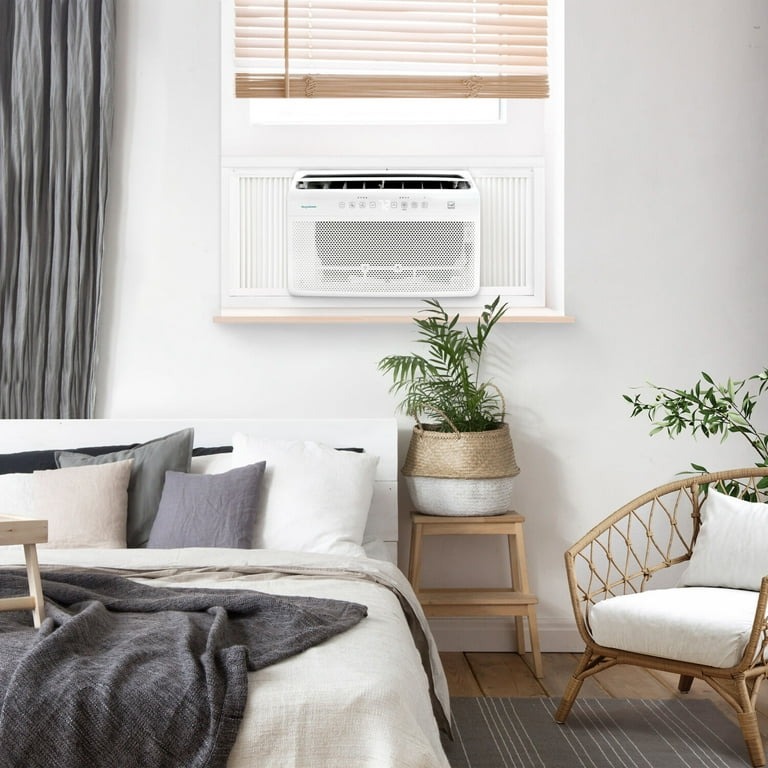
Casement window air conditioners are a popular choice for homes. They fit snugly in the swinging or hinged windows that open outwards or to the side. These units are ideal for windows that slide vertically or do not provide the right width for standard air conditioners. Unlike traditional window units, casement air conditioners need a vertical space to mount. They are compact, and their design is perfect for tight-fitting areas. Their installation is different from other types. It involves securing the unit in the casement window and sealing gaps to promote efficiency. These air conditioners come in various sizes. They are suitable for cooling single rooms or small apartments. Before installation, measuring the window space is critical to ensure a proper fit. Choosing the correct size ensures effective cooling without energy waste. In summary, casement window air conditioners are efficient, space-saving options for certain types of windows. They require specific installation steps, which we will guide you through in this post.
Choosing the Right Casement Air Conditioner
Choosing the right casement window air conditioner is pivotal for optimal cooling and energy efficiency. Firstly, measure your casement window’s dimensions accurately. You’ll need the height, width, and depth of the window opening. Remember that a perfect fit is key to prevent air leakage. Next, consider the room size that needs cooling. Casement air conditioners come in various BTU (British Thermal Unit) ratings. A higher BTU means more cooling power. As a general rule, you need about 20 BTU for each square foot of space. Pay attention to the energy efficiency ratings as well. Units with a high Energy Efficiency Ratio (EER) or ENERGY STAR certification save on electricity bills in the long run. Look for features that add convenience, like programmable timers, remote controls, and adjustable air direction. Lastly, check for a reliable warranty and after-sales service to ensure long-term satisfaction. Keep these factors in mind to select the casement window air conditioner that fits your needs perfectly.
Tools and Materials Needed for Installation
To install a casement window air conditioner properly, you’ll need certain tools and materials. Gather these items before you start to ensure a smooth installation process. Here’s a checklist of the essentials:
- Measuring tape: To double-check the window dimensions and the air conditioner’s fit.
- Drill with drill bits: For creating pilot holes in the window frame.
- Screwdrivers: Both Phillips and flat-head, for securing the unit and attaching brackets.
- Level: To ensure the air conditioner sits evenly in the window.
- Screws and brackets: Included with most air conditioners, for mounting the unit securely.
- Weather stripping: To seal gaps around the air conditioner, preventing air leaks.
- Foam insulation: For insulating the areas around the air conditioner.
- Protective gloves: To keep your hands safe while handling tools and the unit.
Some models of casement window air conditioner may come with additional materials for installation. Always check the manufacturer’s manual for specific requirements. Remember to keep your tools organized and within reach during installation. This will help you avoid unnecessary interruptions and streamline the process.
Preparing the Window for Installation
Before diving into the installation process of your casement window air conditioner, it’s essential to prepare the window space adequately. Proper preparation can make the installation easier and more secure. Here’s what to do:
- Clean the window area: Ensure the casement window is clean and free from dust and debris. This helps the brackets and weather stripping adhere better and provides a clearer view when taking measurements.
- Check for any damages: Inspect the window frame and sill for any signs of wear or damage. It’s important to repair any issues before mounting the air conditioner to avoid further complications.
- Remove obstacles: Take out any window screens or obstructions that may interfere with the air conditioner’s placement. This includes removing objects from the indoor window sill and any decorative elements outside that might block the unit.
- Measure again: Before you commence with the actual installation, it’s prudent to remeasure the dimensions of your window. Doing so ensures that the details noted earlier during the selection process are accurate.
- Mark the areas for support brackets: Some casement window air conditioners require support brackets for stability. Use a pencil to mark the spots where you’ll need to drill holes for these brackets, based on the manufacturer’s instructions.
After you’ve completed these preparatory steps, you’re set to start the step-by-step installation of your casement window air conditioner. Double-checking everything during preparation is crucial to a hassle-free installation.
Step-by-Step Installation Process
After preparing your window and gathering all the necessary tools and materials, you’re ready to install your casement window air conditioner. Follow this straightforward guide to ensure proper installation.
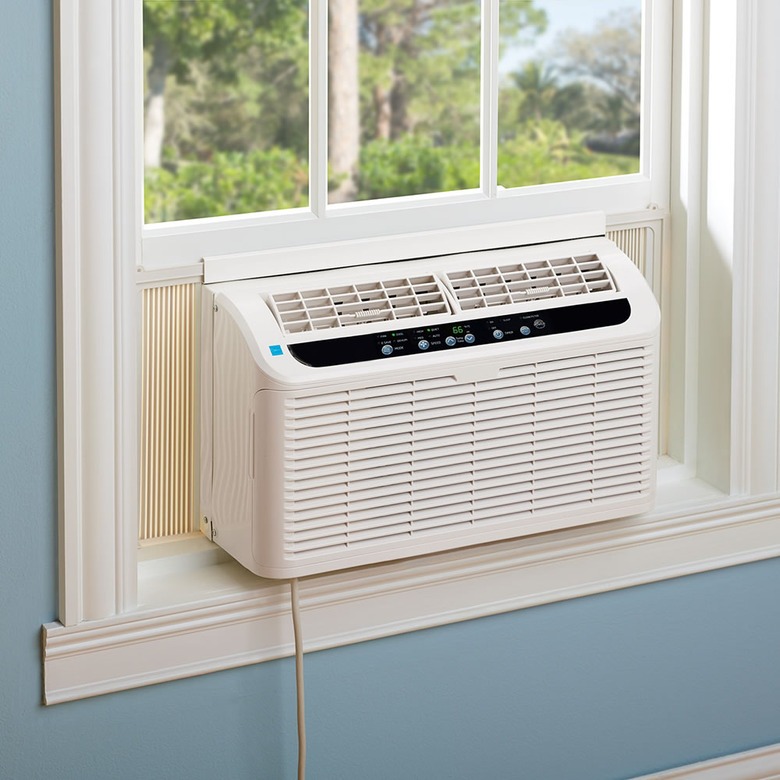
- Position the unit: Carefully lift the air conditioner into the casement window. Make sure it is centered and sits securely on the window sill.
- Secure with brackets: Attach the mounting brackets that came with your air conditioner. These brackets will hold the unit in place. Use your drill to create the pilot holes and then screw the brackets tightly.
- Connect the window connection bracket: If your model has one, connect the window connection bracket. This piece stabilizes the air conditioner against the window frame.
- Lower the window: Gently lower the casement window behind the unit to create a seal. This will help prevent warm air from entering and cool air from escaping.
- Apply weather stripping: To further insulate the area and prevent air leakage, apply the weather stripping around the perimeter where the air conditioner meets the window frame.
- Install foam insulation: Place foam insulation around the unit, especially in gaps that may still remain. This step is important for energy efficiency.
- Check for stability: Double-check that your casement window air conditioner is stable and level. Make any necessary adjustments to ensure that it’s perfectly horizontal.
- Plug in and test: Finally, plug in your air conditioner. Turn it on to test its operation. Listen for any unusual noises and ensure that it is cooling effectively.
Following these steps, your casement window air conditioner should be installed securely and ready to use. Remember to refer to the manufacturer’s instructions for any specific installation details for your model. Proper installation ensures maximum cooling efficiency and safety.
Securing the Air Conditioner and Finishing Touches
After the main installation steps, focusing on securing your casement window air conditioner is vital. Here’s what you should do to make sure it stays in place:
- Check brackets again: Re-examine the brackets to ensure they are tight and holding the air conditioner firmly.
- Fasten additional support: If the air conditioner comes with extra support accessories, attach them according to the manual. This might include safety locks or extra screws.
- Seal with precision: Double-check your weather stripping. Make sure it’s flush against the window frame to block out drafts.
- Place the insulation: Fit the foam insulation snugly around the air conditioner to eliminate gaps. A tight insulation avoids energy loss.
- Confirm the seal of the window: Ensure the window closes behind the unit without gaps. The goal is to maintain an air-tight seal.
- Tidy the workspace: Clear away all tools and spare materials. Keep the surrounding area of your casement window air conditioner clean and unobstructed.
- Inspect the cord: Position the power cord so it’s not in a walkway or at risk of being pinched by the window.
Once everything is secure, add the finishing touches:
- Review the installation: Look over the work you’ve done. Ensure that everything is in order and looks neat.
- Do a final test run: Turn the air conditioner on one more time. Listen for any vibrations that indicate a loose part.
When you’re sure that your casement window air conditioner is secure and operating well, you can enjoy a cooler room. As you use your air conditioner, remember to inspect it periodically for any signs of loosening or wear.
Maintenance Tips for Casement Window Air Conditioners
Keeping your casement window air conditioner in top shape is crucial. Regular upkeep extends its life and maintains efficiency. Here are some key maintenance tips:
- Clean or replace filters regularly: Dust and pollen can clog filters, reducing airflow. Clean reusable filters or replace disposable ones every month or as needed.
- Inspect the seals: Check the window seals yearly to prevent air leaks. Repair any damage with weather stripping or sealant.
- Check the condensation drain: Ensure the drain is clear so moisture doesn’t build up. A clogged drain can affect humidity levels and cause water damage.
- Examine the unit for debris: Remove leaves, dirt, and other debris from around the unit. This helps to keep the air flowing smoothly.
- Schedule professional maintenance: Have an expert service your air conditioner yearly. They can handle complex tasks, like checking coolant levels and electrical connections.
- Operate your AC wisely: Use a programmable thermostat or timer to reduce wear on the unit. This avoids continuous operation and saves energy.
- Cover the unit during off-season: Protect your air conditioner with a cover when it’s not in use. This prevents damage from weather and debris.
Perform these maintenance tasks to ensure your casement window air conditioner works well for years. Regular checks and cleanings keep it efficient, safe, and reliable.
Safety Considerations and Best Practices
When installing a casement window air conditioner, safety should be a top priority. Here are some essential precautions and best practices:
- Read the manual first: Prior to installation, thoroughly read the manufacturer’s manual. This ensures you’re familiar with your specific model.
- Turn off the power: Always turn off the power supply to avoid any electrical shock while installing the unit.
- Use the right tools: Employ the tools recommended in this guide. Do not use substitute tools as this can cause injury or damage.
- Work with a partner: If possible, install the air conditioner with someone. A second pair of hands can prevent accidents.
- Check your footing: Make sure your ladder is stable and you have secure footing before lifting the unit.
- Lift properly: Lift the air conditioner with your knees bent and back straight to avoid injury.
- Secure the area: Keep children and pets away from the workspace to prevent disturbances and accidents.
- Follow local codes: Ensure that your installation adheres to local building and electrical codes.
- Double-check your work: Once installed, review all steps to verify that the air conditioner is installed correctly.
Following these guidelines will help you install your casement window air conditioner safely and effectively. Regular maintenance, as addressed in the previous section, will also contribute to the safe operation of the unit.